Using WLANPi for profiling Wi-Fi mobile devices.
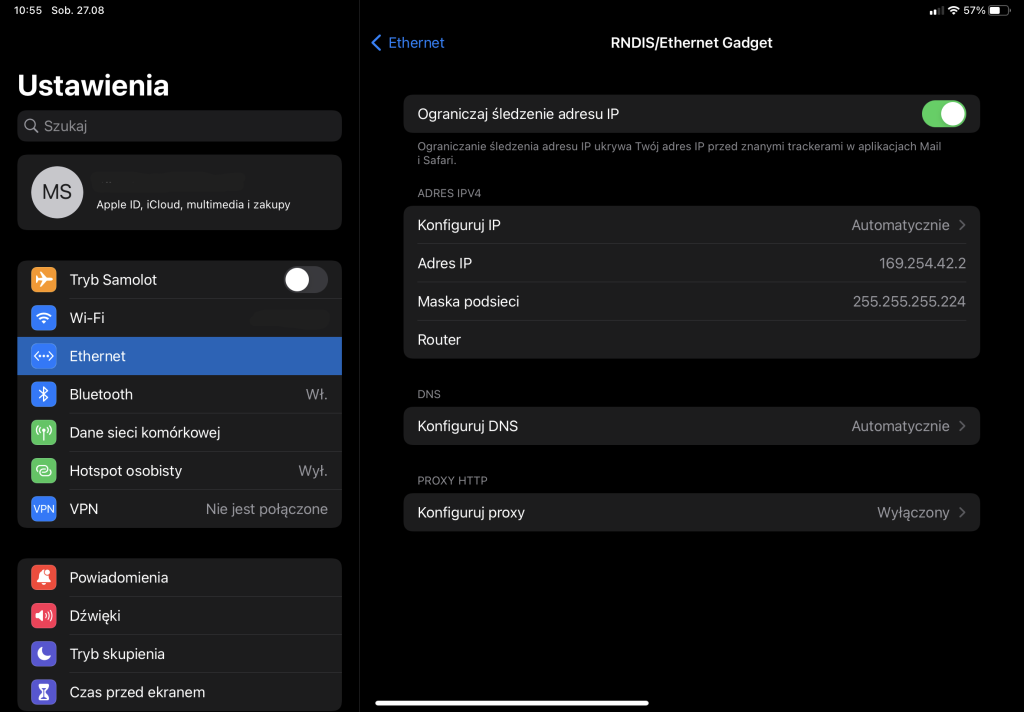
Do szybkiego profilowania urządzeń pod kątem ich parametrów, raportowanych w ramkach Association Request, podczas łączenia się z siecią Wi-Fi, możemy wykorzystać WLANPi pierwszej generacji. Do połączenia użyję tych samych narzędzi, które wykorzystuję podczas pomiarów, czyli iPad z łączem USB-C, kabla USB-C – Micro USB wykorzystywanego do podłączenia Sidekick1 do iPada i oczywiście WLANPi z kartą z chipsetem RTL8812AU lub RTL8814AU. Zasilanie WLANPi zapewni tablet.
For quick profiling of devices in terms of their parameters, reported when connecting to a Wi-Fi network in Association Request frames, we can use the first generation of the WLANPi. I will use the same tools that I use during surveys, i.e. an iPad with a USB-C port, a USB-C – Micro USB cable used to connect the Sidekick1 to the iPad, and of course WLANPi with an RTL8812AU or RTL8814AU chipset NIC card. iPad will provide power to the WLANPi.
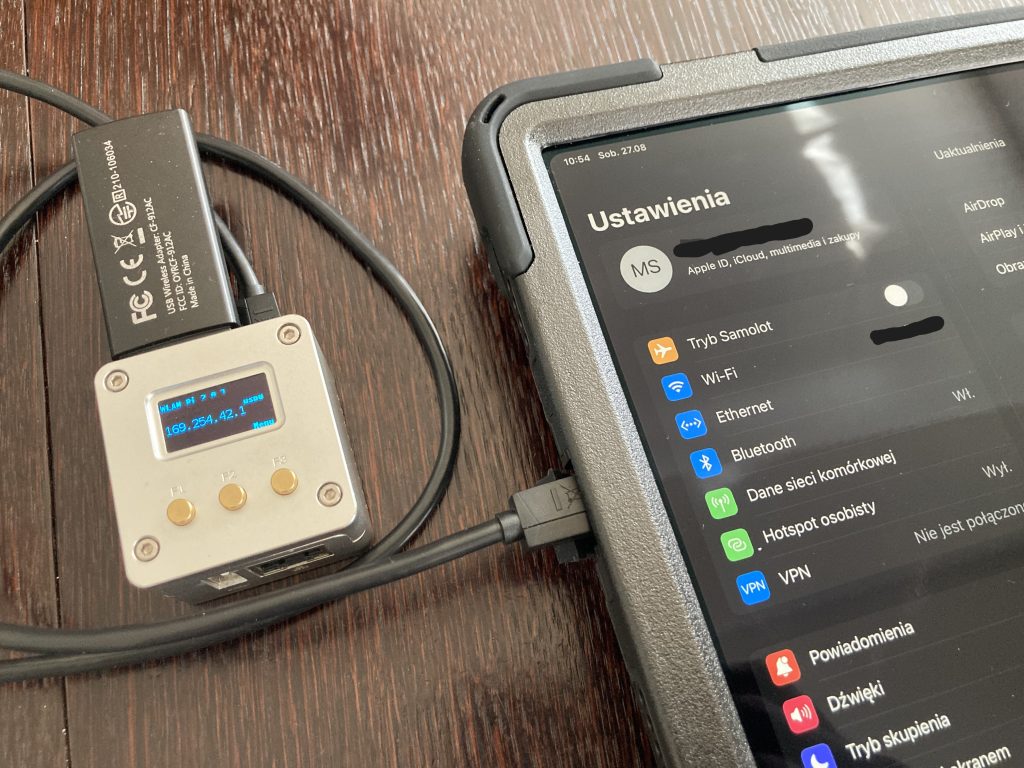
Po podłączeniu WLANPi do tabletu, w Ustawieniach powinien pojawić się interfejs Ethernet -> RNDIS/Ethernet Gadget:
After connecting WLANPi to the tablet, the Ethernet -> RNDIS / Ethernet Gadget interface should appear in Settings:
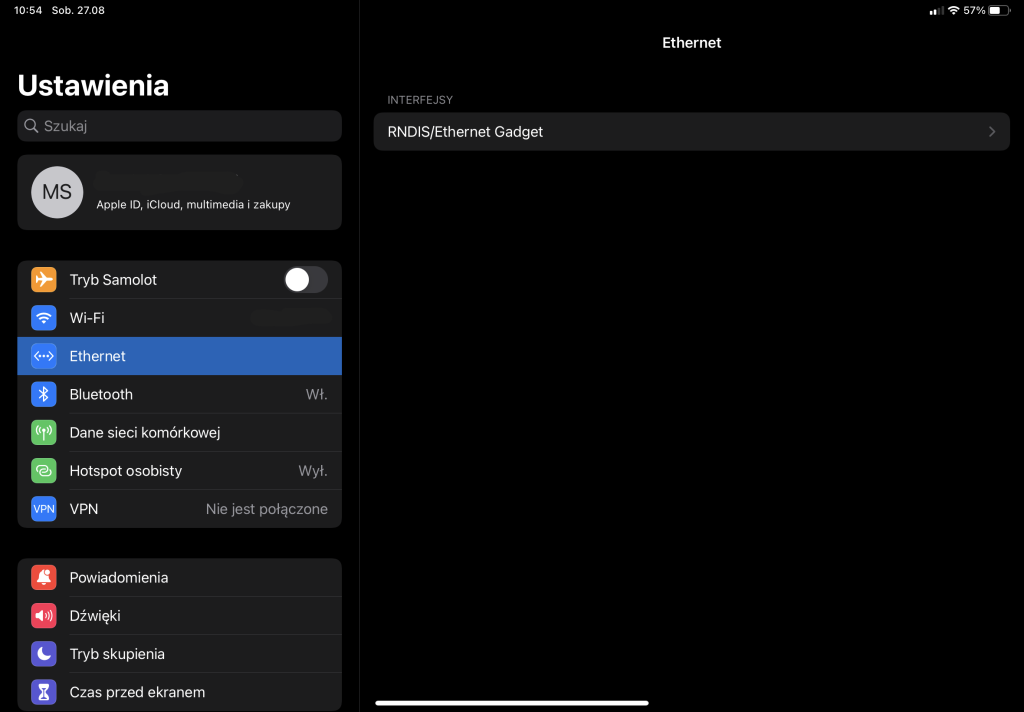
Adres powinien ustawić automatycznie, jednak można go również ustawić ręcznie, w zależności od tego jak mamy skonfigurowane WLNPi:
The address should be set automatically, but it can also be set manually, depending on how WLNPi is configured:
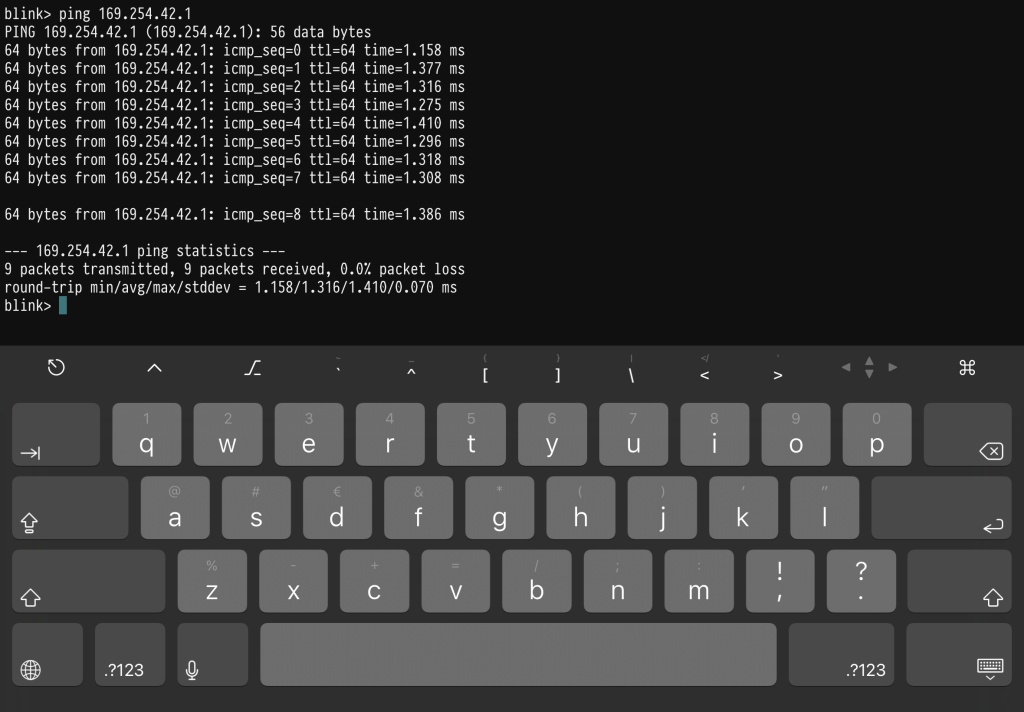
Do połączenia z konsolą WLANPi wykorzystuję aplikację Blink. Aplikacja posiada bezpłatne i płatne tryby pracy. Test połączenia:
I use the Blink application to connect to the WLANPi console. The application has free and paid version. Connection test:
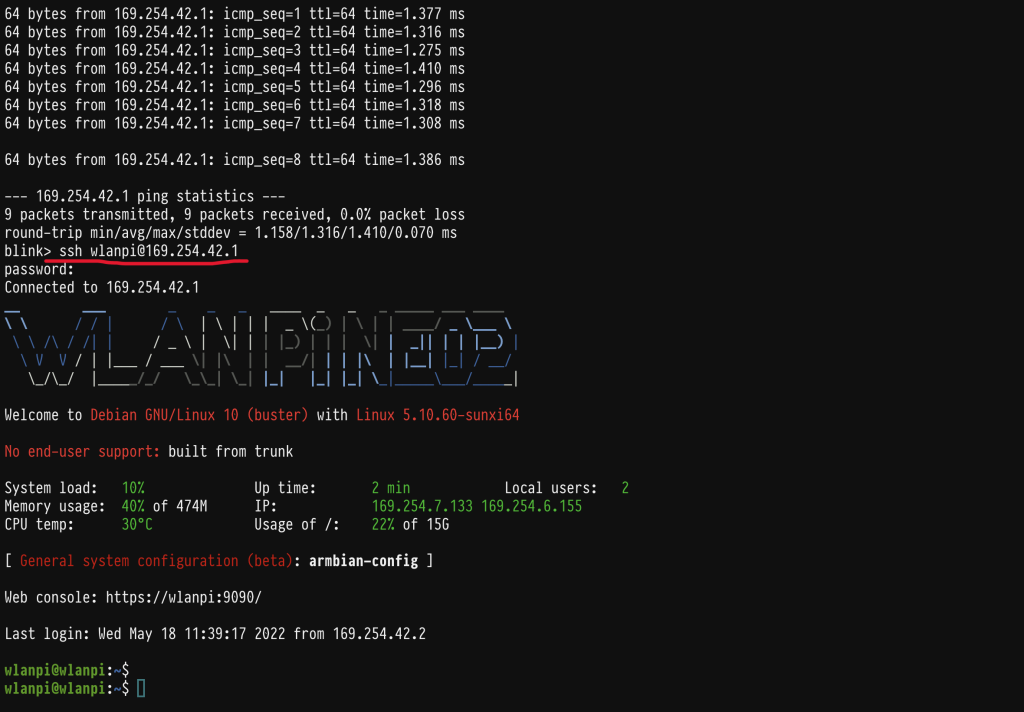
Nawiązanie sesji SSH z WLANPi:
Establishing an SSH session with WLANPi
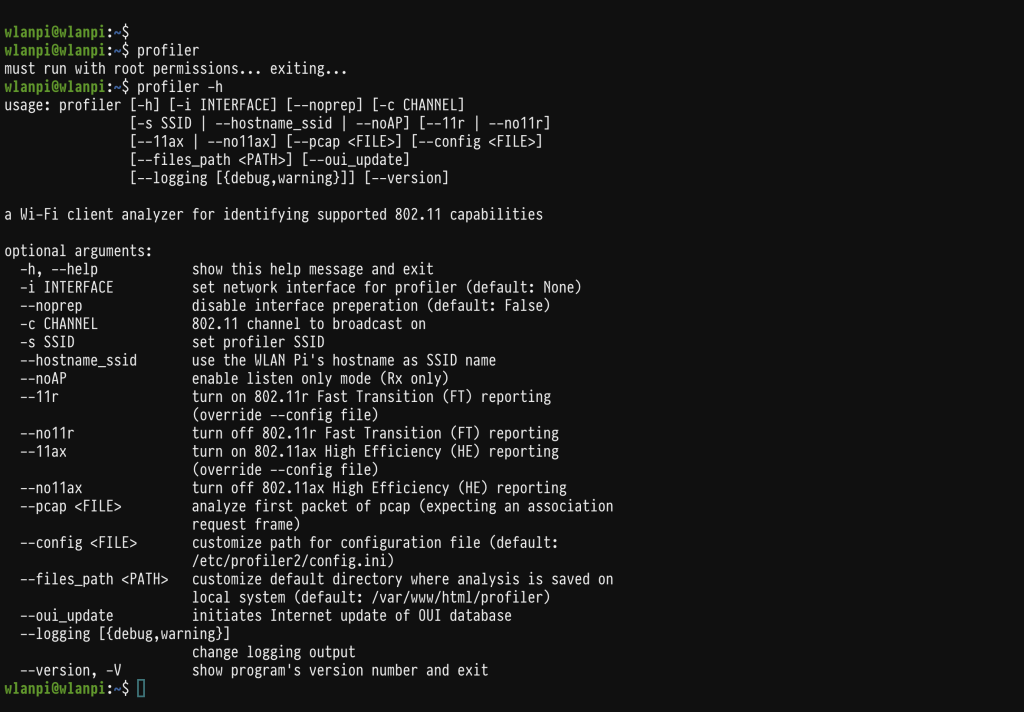
Do profilowania wykorzystuję aplikację „profiler”. Aplikacja jest dostępna również z poziomu GUI WLANPi, gdzie można pobrać w formacie .txt poprzednio sprofilowane parametry urządzeń. Zaletą wersji CLI jest możliwość skonfigurowania ustawień, między innymi kanału pracy symulowanego punktu dostępowego:
I use the „profiler” app for device profiling. The application is also available from the WLANPi GUI, where you can download the previously profiled device parameters in .txt format. The advantage of the CLI version is the ability to configure settings, including the operating channel of the simulated access point:
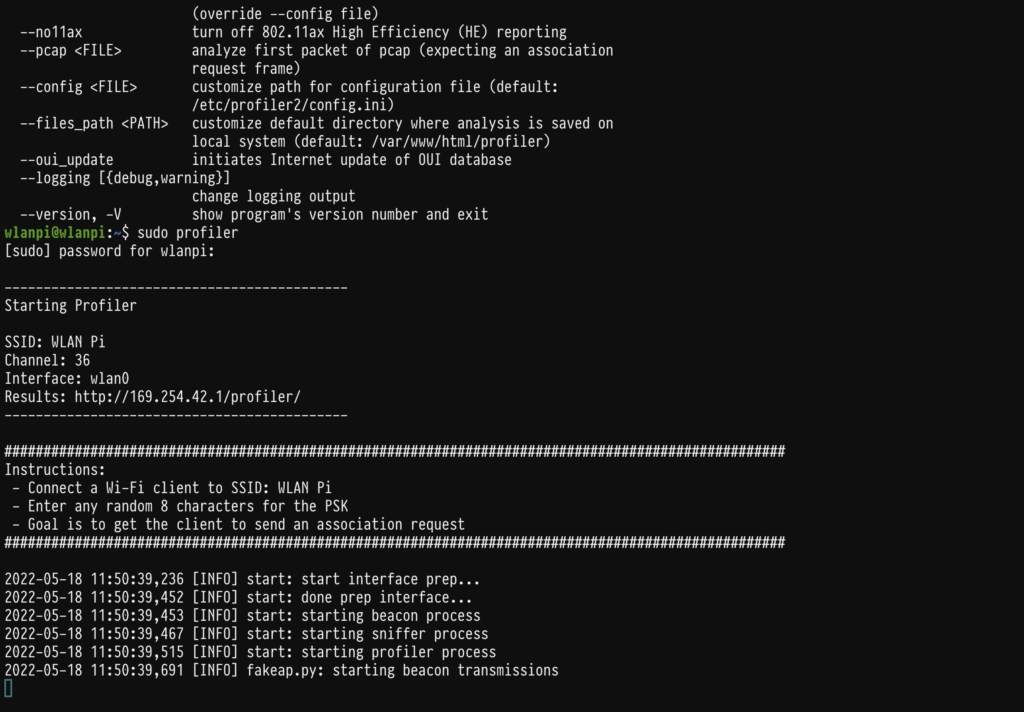
Uruchamiam aplikację z uprawnieniami admina, wykorzystując wcześniej skonfigurowane parametry. W tym momencie WLANPi zaczyna rozgłaszać fikcyjny punkt dostępowy o maksymalnych zdolnościach określonych standardem, tak aby ramka Association Request, zawierająca wypadkową możliwości punktu dostępowego i urządzenia mobilnego, została ograniczona jedynie parametrami badanego urządzenia:
Now I run the application with administrator privileges, using the previously configured parameters. At this point, the WLANPi starts broadcasting the simulated access point with the maximum possibilities specified by the standard, to get the Association Request frame, containing the resultant capabilities of the access point and the mobile device, limited only by the tested device parameters:
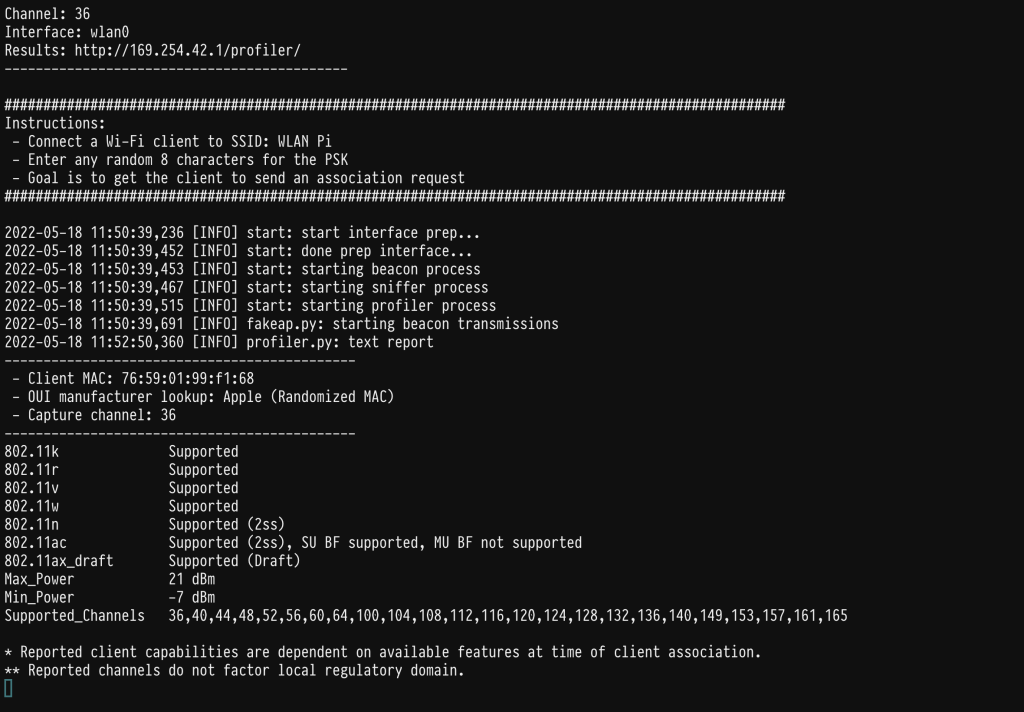
Na urządzeniu wyszukuję SSID „WLANPi” i próbuję uzyskać połączenie. Hasło jest dowolne (min. 8 znaków), ponieważ nie chcemy się łączyć z punktem dostępowym, a jedynie złapać ramkę asocjacyjną. Efekt powinien pojawić się na ekranie w postaci zbioru kluczowych informacji o urządzeniu:
Then I am searching for the SSID „WLANPi” on the device and trying to establish a connection. The password is any random 8 characters, since we do not want to connect to the access point, but only catch the association frame. The effect should appear on the screen as a set of most important information about the device:
